If you’re not snapping photos of your food before eating it, then you’re not doing Instagram right. Whether you’re an aspiring local food blogger or a simple foodie who just wants to up your Instagram feed, here’s how to take your smartphone food photos to the next level:
-
Shoot in natural light
Natural light is the secret to capturing stunning still life photos. It offers soft and diffused light that beautifully illuminates your photos and enhances all the colors. You don’t have to move your food outdoors to catch natural light. You can simply choose a table positioned near a window to ensure your subject catches enough light.
Avoid using overhead, indoor lights as they cast harsh, glaring colors that can make your photos look flat and lifeless.
-
Rule of thirds
The rule of thirds is a universal rule for all kinds of photography. This composition rule involves mentally cutting your image into grids using two horizontal lines and two vertical lines. The essential elements in your scene should be positioned along those lines, or at the intersections of your grid instead of in the center.
The rule of thirds allows you to frame your subject in a way that easily captures the audience’s attention. The four meeting points of your grid correspond to people’s natural line of sight when they first look at an image. Following this rule can you give you a more balanced, focused, and natural photograph.
-
Find the best angle
The two most common types of angles for food photography are straight on and top down.
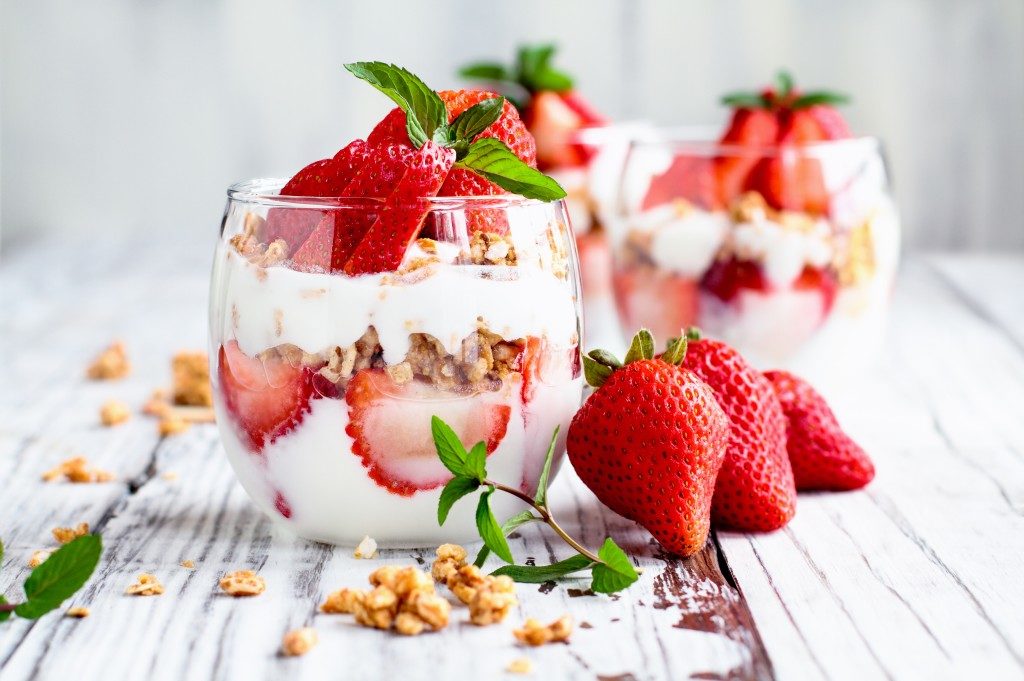
Straight on is commonly used for tall or stacked food where vital details are better seen from the side. This is a good choice if you’re shooting sandwiches, burgers, tall drinks, or stacked pancakes because it highlights the food’s different layers.
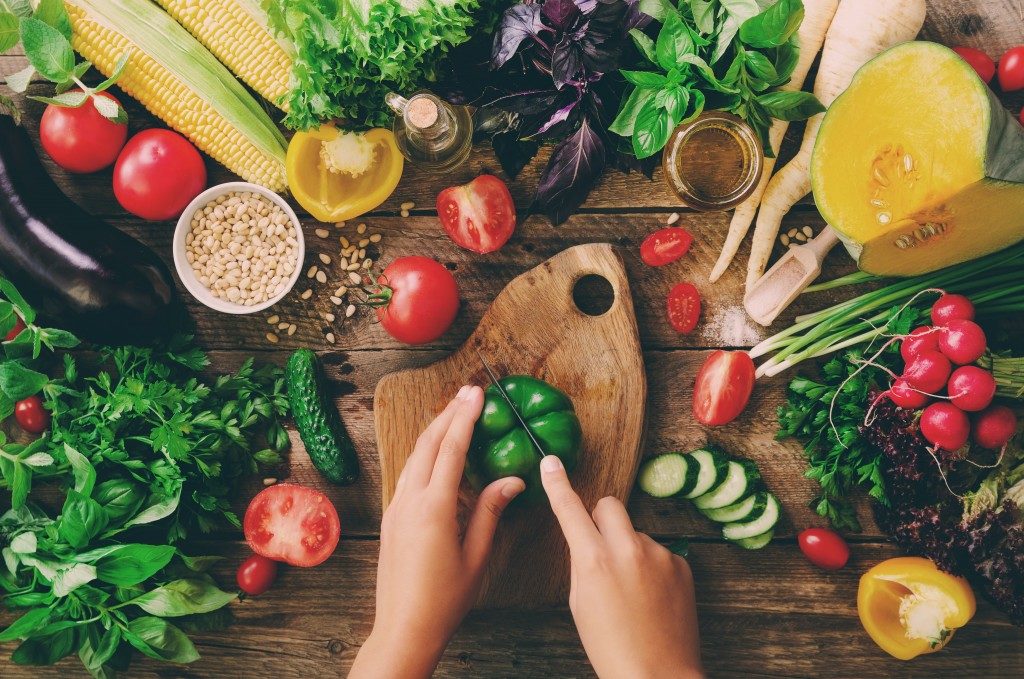
Top down or flat lay is perhaps the most favored angle for food blogs. This time, all the essential details are on top. This is a perfect angle for shooting pizza, table scenes, or plates and bowls of food. Flat lay highlights colors and shapes instead of depth.
There’s no one rule when it comes to positioning. The right angle would depend on the type of food you are capturing or a particular detail you wish to highlight.
-
Don’t zoom in
Unfortunately, smartphone cameras have not been equipped with fancy lenses yet. This means when you zoom in using a single-lens smartphone camera, quality, color, and resolution will massively drop. There are exceptions, of course, but to be safe, just move your device closer to the subject.
-
Use a neutral background
 The background is crucial when shooting food. Busy backgrounds and loud colors can divert the viewer’s focus on the subject.
A neutral background helps you put maximum emphasis on your food. It does not have to be an utterly plain backdrop like a white tablecloth all the time, but it should at least complement the subject and not attract more attention.
Wooden tables and chopping boards make for minimalist yet stylish backgrounds. Their simple colors make them ideal backdrops for almost any kind of food. Tablecloths and tea towels can work as long as their colors don’t clash with those of the food. Subtle prints and patterns can also add just the right amount of personality and texture to your photos.
You don’t have to be a professional photographer to take gorgeous food photos. Of course, your smartphone camera has its limits, but it’s a good entry point for exploring what styles work and what doesn’t. With constant practice and creativity, you’ll hone your compositional skills in no time.

